


Adding Ecommerce to your business’ WordPress can be a great way to showcase your brand’s goods and services, whether they’re digital or physical merchandise. There are many ways to do this, including through the store and through
WordPress’ Ecommerce
WordPress offers a way to add a shopping cart right through their own website! When using their service, you can take payments in seconds, and you can even offer your customers a Pay with Paypal button. You can offer your physical or virtual goods, and even take monthly donations. They offer a way to send out newsletters and create recurring payments with an easy way to cancel. They also provide you with the tools to create an online store, but that should be a given. This all sounds great, but there is a catch: this is a paid service through WordPress. The payments range from $8 to $45.
But I Don’t Have a Lot of Money
If you’re reluctant to pay a lot for eCommerce with WordPress and you think that surely there must be an affordable option, well, you’d be correct! And don’t call us Shirley. There are a plethora of WordPress ecommerce plugins on the market, most of which are
Wow, That Sounds Awesome! How Do I Set It Up?
So, we can admit that using a separate
Follow this comprehensive guide to install Ecwid plugin for WordPress.
First, choose your shopping cart plugin
The first step is to choose the best shopping cart for WordPress. It should be one that matches your brand. That being said, there are a lot to choose from! Some of the most popular options include WooCommerce, WP EasyCart, and Ecwid.
We highly suggest going with Ecwid, though we admit that we might be a little biased. Do some research into what every ecommerce platform offers, and make your decision based on what your brand will require. Whichever you decide on, make an account with them and set up your inventory. This will make the setup much easier in the long run.
Once your shopping cart plugin has downloaded, open WordPress
Note: for the sake of brevity, from henceforth, we will be showing you how to set up Ecwid specifically, though the other options’ setups are not much different.
Once your shopping cart plugin has fully downloaded, go into your business’ WordPress and go to the dashboard. On the left side of the screen, there will be a menu. Go down to “plugins,” and select “add new.” Conduct a quick keyword search for the word “Ecwid,” and click on the option that reads “Ecwid Ecommerce Shopping Cart.” This should be the first option. Click on “install now,” and then activate. Good job! Get yourself a snack. You should get a snack just because. You deserve it.
Download successful. Let’s make that store!
“Greetings! Your Ecwid plugin is now active.” Is there any more beautiful thing to read than a confirmation that your download was successful? Actually, they say that each time you successfully download something, an angel gets its wings.
Anyways, now that your plugin is active, you can set up your store! Creating an online store with WordPress is super easy. Right under that beautiful,
A prompt will appear asking if you want to connect your store to the WordPress site. Click the green “connect” button, and get yourself a drink. That snack you had earlier probably made you really thirsty.
Your dashboard is now accessible right from WordPress
Now that you are sufficiently fed and watered, you can properly rejoice that your Ecwid store dashboard is accessible right from your WordPress account. A little button that says “Ecwid Store” should appear right under your “Dashboard” button, and it will be just like the Ecwid store you set up in the first step. What’s more, you can now manage everything from your WordPress store. Underneath the Ecwid Store button, you can track your sales and products! How cool is that? Technology, man.
Get familiar with your new WordPress store
Ok, so, getting familiar with your new ecommerce store isn’t 100% mandatory the way the previous steps are. But we still highly recommend it! Go to your site’s homepage, and, oh my gosh! What is that? Is that a bright and shiny new link that says “store?” Wow! You should click on it. How did it know to match the colors with your store colors? Well, that’s because of a feature called “Chameleon.” Whether you designed your WordPress eCommerce theme or downloaded it elsewhere, the Chameleon feature will match it without any work on your part.
Notice that your store is located at yourdomain.com/store. However, you can easily adjust this if you would like to. If only someone was willing to talk about how….
Let’s Get Personal…ized
Remember that Chameleon feature we briefly discussed when we were getting familiar with your new website? If you are a person that thrives on chaos and wants your store to have a completely different color scheme from your original page, don’t worry. You can edit your store color themes! From the backend of your website, click on “Ecwid Store” and click “advanced.” From there, you can turn the option of Chameleon Skin off and they will use their stock colors.
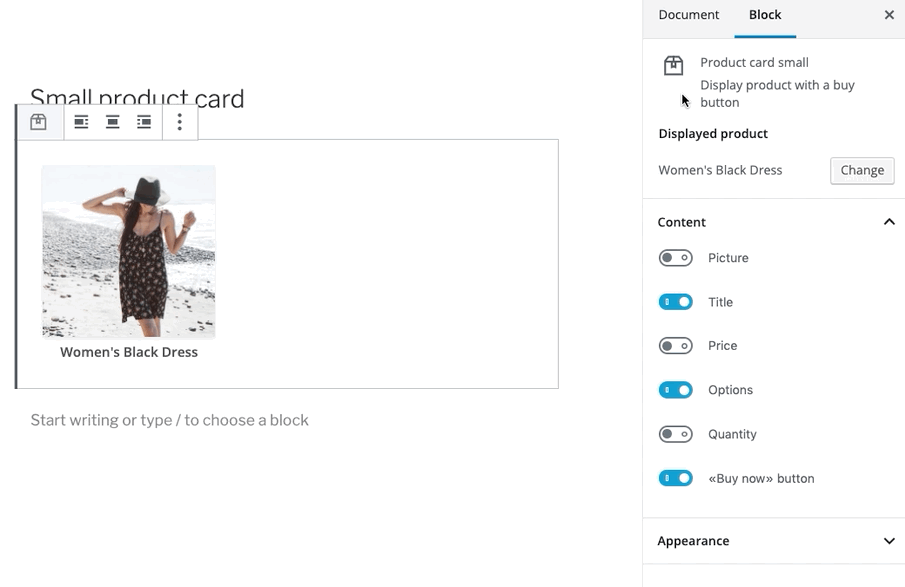
Editing product widget is intuitive and has lots of options
From the backpage, you can also edit your store’s appearance. From here, you can change your store’s widgets that appear in the sidebar of the screen. This drag and drop feature offers you more customization for your customers’ shopping experience. You can use multiple widgets by stacking them, and you can choose the order in which they appear. You are able to change the title of any store link widget, some offering even more customization.
TL;DR, Make the Best Decision for Your Brand
This is the point of the blog where we get to the TL;DR, because our goal at Ecwid is to make ecommerce as painless as possible. Whatever you decide, it’s important to make the best decision for your brand. When setting up your WordPress Shopping Cart, remember to make an educated decision and upload your choice to WordPress. Make the store via WordPress, familiarize yourself with your new store, and personalize it as you see necessary.


